You can download, run and play Android Games, as well as use Applications on your computer. I am not talking about something like how we now use WhatsApp on computer browsers. No, far from it. I am talking about actually downloading Android Applications and Games as you would on on your phone.
A good number of people love some mobile games so much they wish they were available on computers. Some even give up on some games on their phones because the screen is just too small for the game. Well, you don’t have to quit your favourite game. You can download Android games to your laptop and play.
BlueStacks App Player (Android Emulator)
BlueStacks App Player is the answer. BlueStacks lets you get fullscreen enjoyment from top apps and games like WhatsApp and Castle Clash. With BlueStacks you can get thousands of the Best Android Apps on your PC.
BlueStacks App Player is an Android Emulator that enables even the most graphics-intensive games to run smoothly on your PC.
How To Run Apps and Play Games on PC with BlueStacks
First of all, you need to download the BlueStacks App Player from the official app site. Allow the application to download to your PC or Mac and Install. Yes, BlueStacks App Player is also available for Apple Mac laptops.
You can download this BlueStacks Emulator if you click here.
Now, click the downloaded installer on your Mac or PC to install BlueStacks App Player
To Run Apps and Play Android Games on Mac
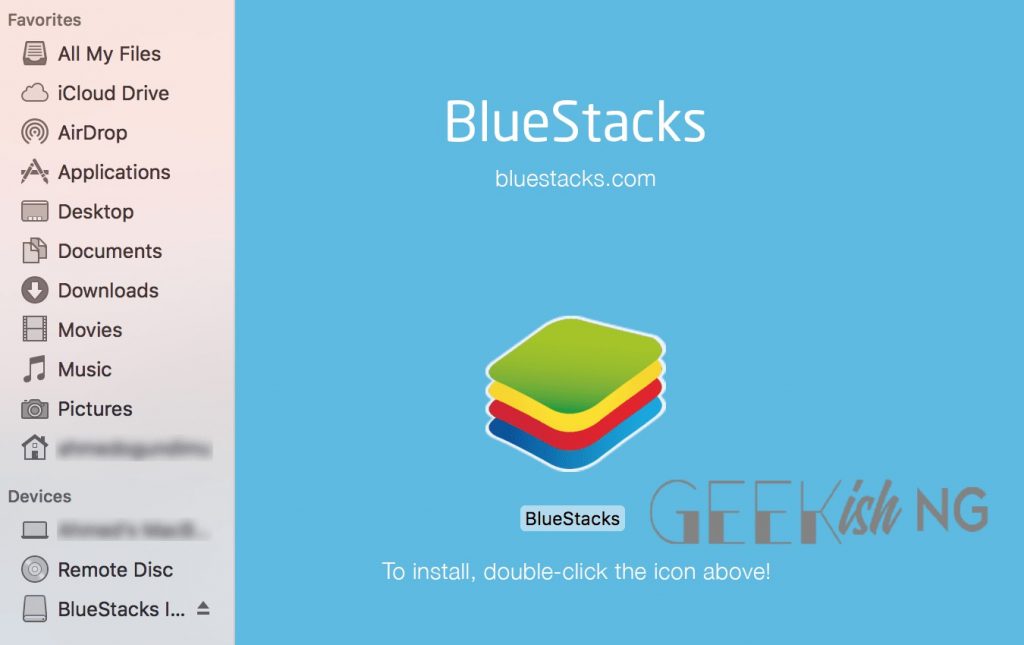
Double-click the BlueStacks icon to initiate installation on Mac
Click the Install button on the next screen
Use Android Apps and Play Android Games on Windows:
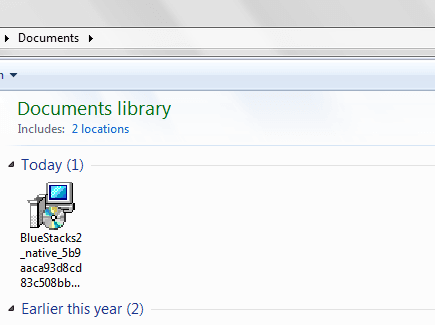
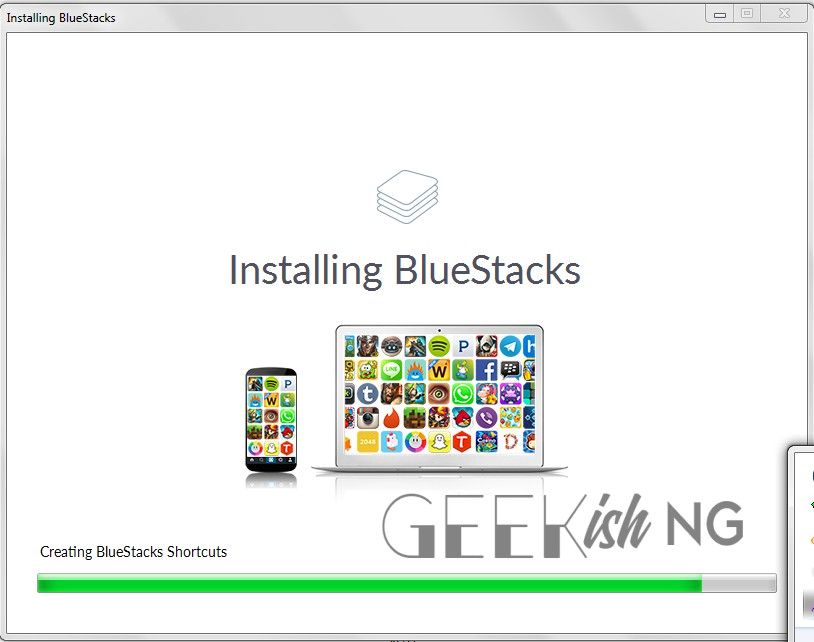
Click the exe installer, agree to run installer and let BlueStacks extract completely
Next, accept the terms in the license agreement of BlueStacks by clicking the Next button
Select the location you want the BlueStacks App Player to install on your PC and click Next
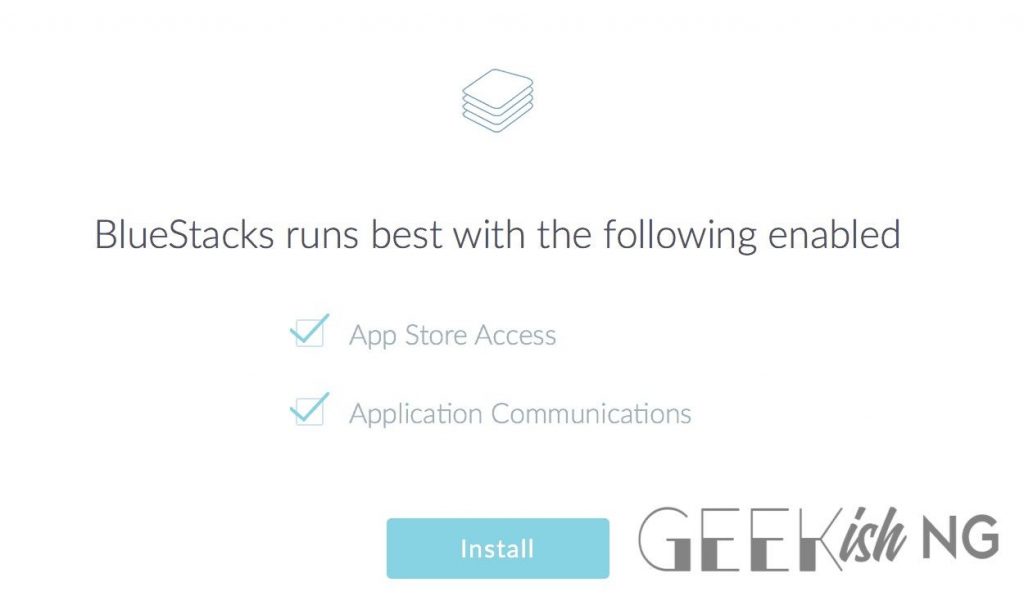
Now, click the Install button with the “App Store Access” and “Application Communications” option checked.
The next steps are applicable for both Mac and Windows laptops
Allow BlueStacks to proceed with installation on your Computer. You will see an “Installation Complete” screen after a successful installation. Click on Finish.
Sign in with a Google Account and allow BlueStacks to view your email address and basic profile info.
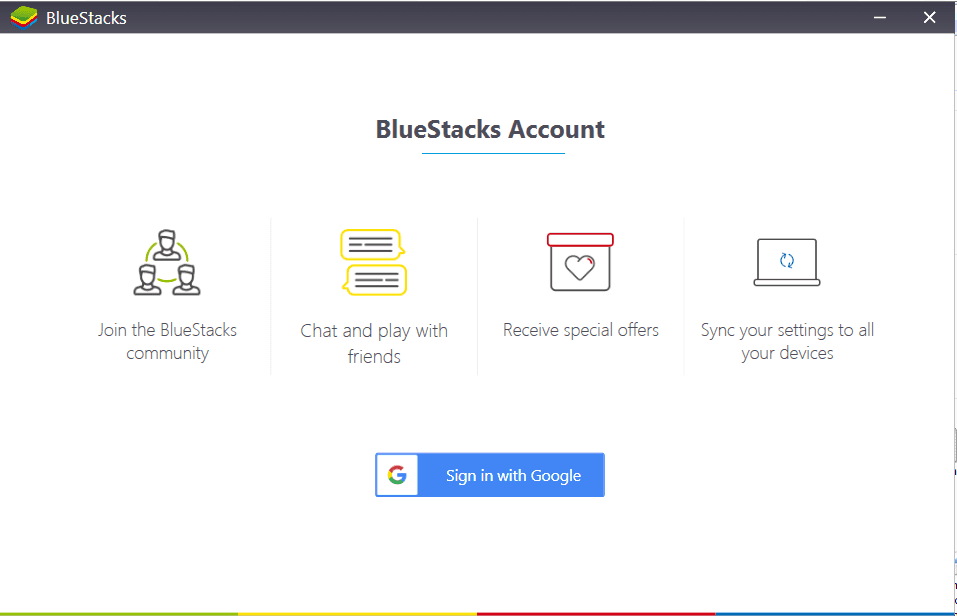
Now, choose a username and click DONE.
Allow Google to “Improve Location Accuracy” by clicking the “Agree” option. This will help reduce your battery consumption. There will be other preference options that you can choose as you so desire.
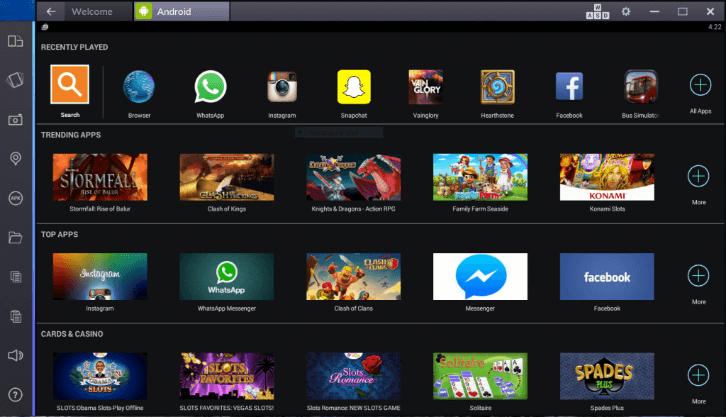
Now, BlueStacks will load all Channels available on your Personal Computer. You can click the “Google Play Store” icon or the “Search” icon to get started. Search with the name of the game, click on the icon when you find it to install. In this case, I installed Super Mario Run.
You can see the progress of the download and will also be notified after completion.
Go back to PayStacks home and click the menu button at the bottom of the App. There, you will see the game that you have downloaded to your PC. Now, click on the installed Android game to start playing on your computer via the emulator.
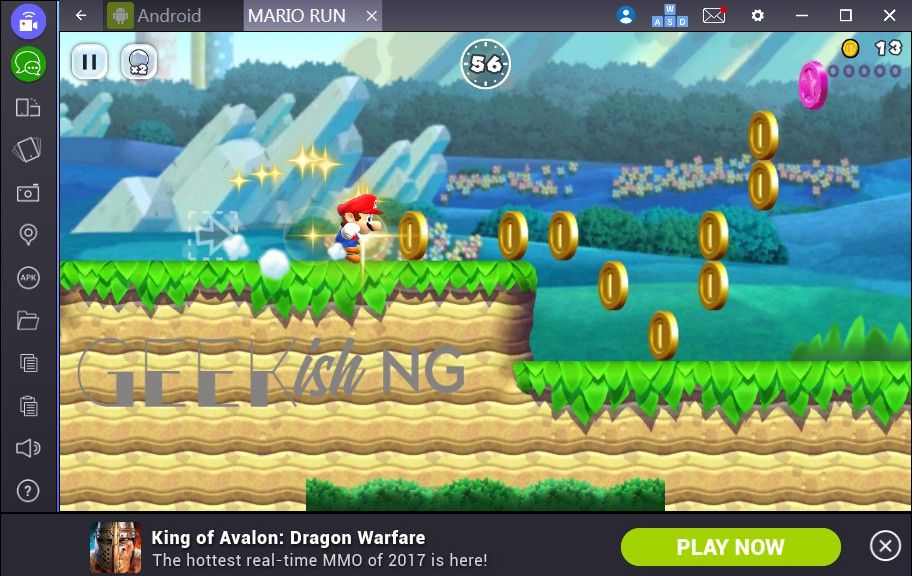
You can flip the screen size from Portrait to Landscape mode from one of the options available on the left toolbar of the application. It looks like this:
You can also use Remix OS app Player for running Android apps and games on your PC. I will write a comprehensive guide on that very soon. Watch out for it.


Leave a Reply